When it comes to protecting your online privacy and securing your internet connection, a reliable VPN is one of the best tools you can use. NordVPN is a popular choice thanks to its strong encryption, wide server network, and user-friendly apps. If you’re looking for a NordVPN Windows Mac setup guide, this step-by-step walkthrough will help you get everything running smoothly, whether you’re on a PC or a Mac.
Why Use NordVPN on Your Computer?
Before jumping into the installation, it’s worth highlighting why setting up NordVPN directly on your desktop or laptop makes sense:
- Comprehensive protection – Encrypts all traffic from your device.
- Unrestricted browsing – Access geo-blocked websites and streaming platforms.
- Consistent performance – Desktop apps often provide more stable connections compared to mobile hotspots.
NordVPN Windows Setup
Setting up NordVPN on Windows is quick and straightforward. Here’s how to do it:
- Download the NordVPN app
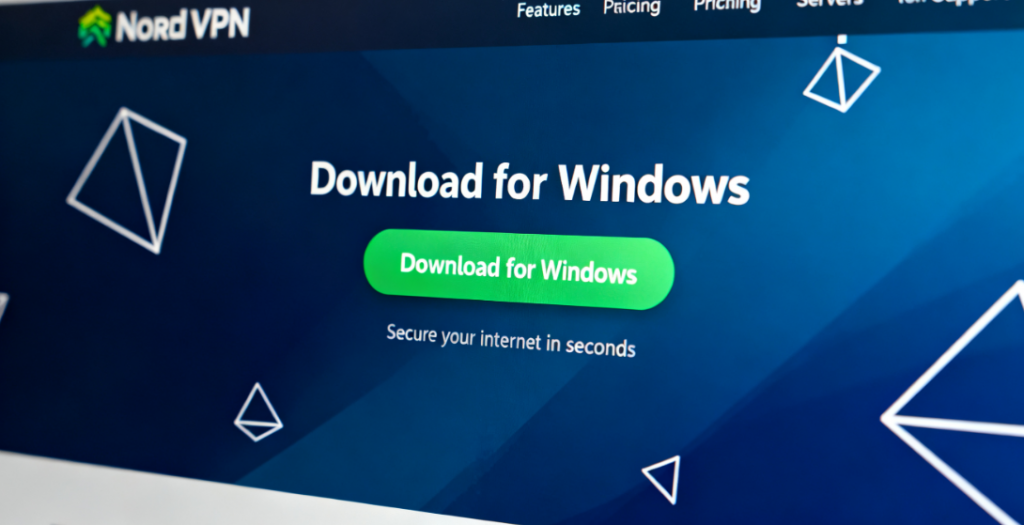
- Visit the official NordVPN website.
- Navigate to the Apps section and select Download for Windows.
- Install the application
- Open the downloaded file and follow the installation wizard.
- Approve any security prompts during setup.
- Log in to your account
- Launch the NordVPN app after installation.
- Enter your NordVPN account credentials.
- Choose a server and connect
- You can either use the Quick Connect button for the fastest server available or manually select a server from the list (e.g., for accessing specific regions).
- Adjust preferences (optional)
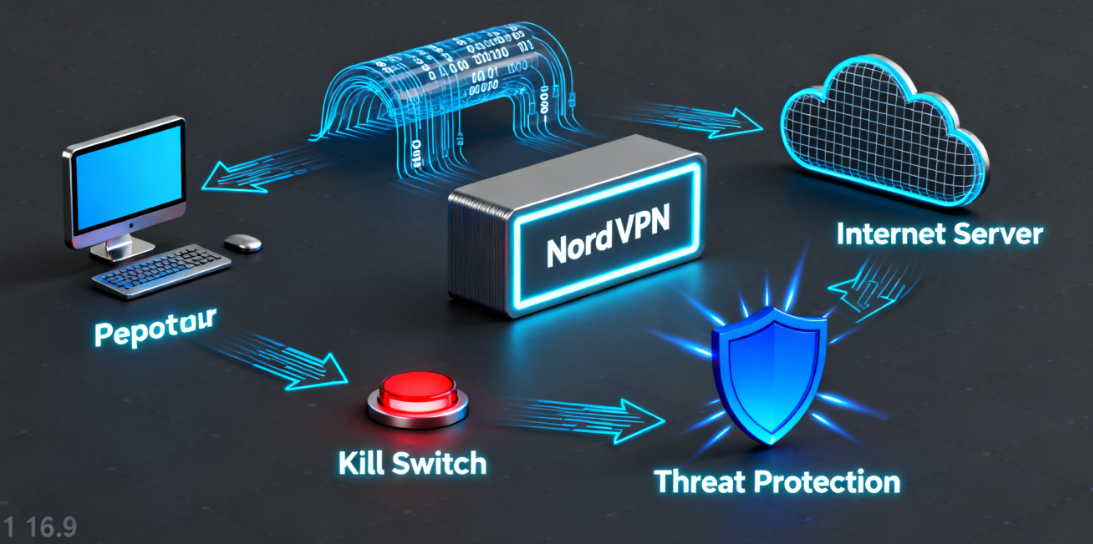
- Explore the settings tab to configure features such as Kill Switch, Auto-connect, or Threat Protection.
NordVPN Mac Setup
The process is very similar on macOS, though there are a few interface differences:
- Download the NordVPN app for macOS
- Head to NordVPN’s official site or the Mac App Store.
- Install the application
- Drag the NordVPN app into your Applications folder.
- If prompted, grant permissions in System Preferences > Security & Privacy.
- Log in and connect
- Open the app, sign in, and click Quick Connect.
- Alternatively, browse the server map to choose your preferred country.
- Enable extra features
- Like on Windows, you can set up Auto-connect or configure NordVPN to launch at startup for seamless protection.
Tips for a Smooth Experience
- Keep the app updated – Regular updates bring better security and stability.
- Experiment with different servers – If one location seems slow, try another nearby server.
- Use split tunneling (Windows only) – Decide which apps should go through the VPN and which should connect directly.
- Check your IP – After connecting, verify your new IP address with an online tool to ensure the VPN is active.
Setting up NordVPN on your computer doesn’t require advanced technical knowledge. With just a few clicks, both Windows and Mac users can enjoy private, secure, and unrestricted internet access. Whether you’re working remotely, streaming, or simply browsing, a proper NordVPN Windows Mac setup ensures your online activities stay protected.